
Greyhound Early Pace Rating: How to Build a Pace Map for Yarmouth Races
 Available in US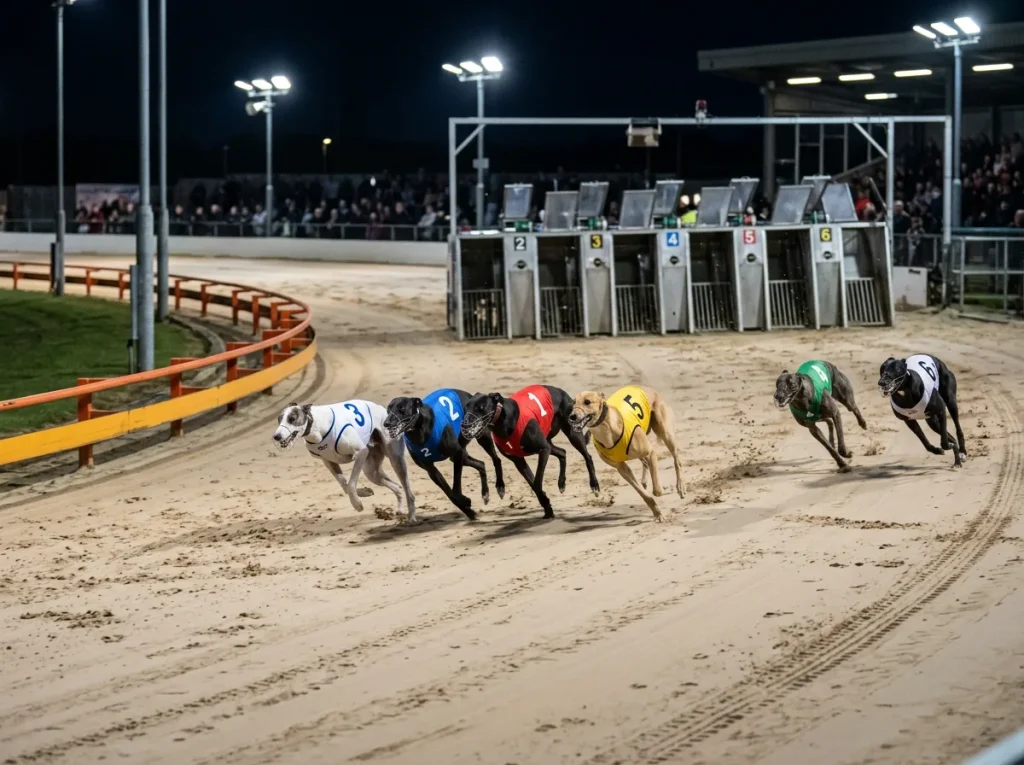
Before every race at Yarmouth, I draw the same rough sketch on my notepad: six numbered boxes across the bottom, a curved line representing the first bend, and arrows showing where I think each dog will be when the field hits that turn. It is not sophisticated – it takes about thirty seconds – but that crude pace map has saved me from more losing bets than any other single habit in my analytical routine. If you can predict what happens in the first five seconds of a greyhound race, you can predict the outcome of that race more often than not.
Early pace – the speed at which a dog leaves the traps and reaches the first bend – is the dominant factor in the majority of greyhound races. At Yarmouth, where the 85-metre run-up to the first turn on the 382-metre circuit gives dogs a generous window to establish position, the pace map is not just useful. It is essential.
See also: yarmouth dogs results and analyse early pace ratings.
What Early Pace Means in Greyhound Racing
Early pace is not the same as overall speed. A dog can be the fastest runner in the field over the full distance but have moderate early pace, which means it leaves the traps a fraction behind the quickest breakers and reaches the first bend in third or fourth position. Conversely, a dog with explosive early pace might lead into the first bend but lack the stamina or the sustained speed to hold that lead through the rest of the race.
The distinction matters because the first bend is where the majority of race-defining incidents occur. Dogs converge from their spread starting positions into a tight pack as they enter the turn. The dog that arrives first has clear air – it picks its line, takes the rail and controls the pace. The dogs that arrive second and third are funnelled behind the leader or pushed wide, losing ground and energy. The dogs that arrive last face the worst of the congestion, the widest running line and the highest probability of interference.
At Yarmouth, the 85-metre straight before the first bend is long enough that the pace map is not entirely determined by the trap break. A dog that is slow out of box one but has strong acceleration can still reach the first bend with a positional advantage, because the longer straight gives it time to recover. At tracks with shorter run-ups, a bad break is almost always fatal to a dog’s chances. At Yarmouth, there is a margin for recovery – but it is still a margin, not a guarantee.
Building a Pace Map From Racecard Data
The pace map is built from two pieces of information available on every Yarmouth racecard: the trap draw and each dog’s early-pace profile, which you can assess from its recent form figures, race comments and any sectional data available.
Start with the trap draw. At Yarmouth, trap one carries a win rate of roughly 18-19% nationally, and the advantage comes from positional proximity to the inside rail. But the raw trap statistic is less important than the interaction between the trap draw and the dog’s pace. A fast breaker in trap one is a strong pace map leader. A slow breaker in trap one is going to get squeezed by faster dogs from wider draws converging toward the rail.
Next, assess each dog’s early-pace rating. Look at the race comments from its last three or four runs. Phrases like “led first bend”, “prominent early”, “fast away” indicate a dog with genuine early pace. Phrases like “slow away”, “crowded first bend from behind”, “held up early” indicate a dog that habitually reaches the first bend in the pack or behind it. If you have access to any sectional data – even estimated splits – the run-up time to the first bend gives you a numerical pace rating that is more precise than comments alone.
Now combine the two. Plot each dog’s expected first-bend position based on its trap draw and its pace profile. A fast breaker in trap one leads. A fast breaker in trap five might challenge for the lead or sit second on the outside. Two fast breakers drawn next to each other – say traps two and three – are going to converge on the first bend and potentially interfere with each other, which opens up the race for a dog with a cleaner passage from elsewhere in the field.
Crowding at the First Bend and When to Oppose the Favourite
This is the payoff – the moment where the pace map turns from an intellectual exercise into a betting edge. The most common scenario where I oppose the favourite at Yarmouth is when the pace map shows the favourite arriving at the first bend in a crowd of two or three dogs with similar early speed.
A favourite that is also the fastest breaker in the field from the best trap draw is a justified favourite – the pace map supports its position at the top of the market. But a favourite that has moderate early pace, is drawn in a middle trap and faces two faster breakers on either side is vulnerable, because the pace map predicts a contested first bend where the favourite will be squeezed, bumped or carried wide. In that scenario, the favourite’s price underestimates the risk of first-bend trouble, and the dog that inherits a clean run – often a dog from an unfashionable wider draw with a clear path – becomes the value play.
I opposed the Yarmouth favourite in exactly this type of race last autumn and backed a 6/1 shot drawn in trap six that I had identified as the only dog in the field with clear early pace from its draw. The favourite got squeezed between two fast breakers on the first bend, lost three lengths, and my selection led from the second bend to the line. That result was not luck – it was the pace map working exactly as it should.
Building pace maps for every Yarmouth race becomes second nature after a few weeks of practice, and it connects directly to the broader form analysis framework and the selection strategy that drives all my selections at this track.
See also: Sectional Times Explained to deepen your understanding.
